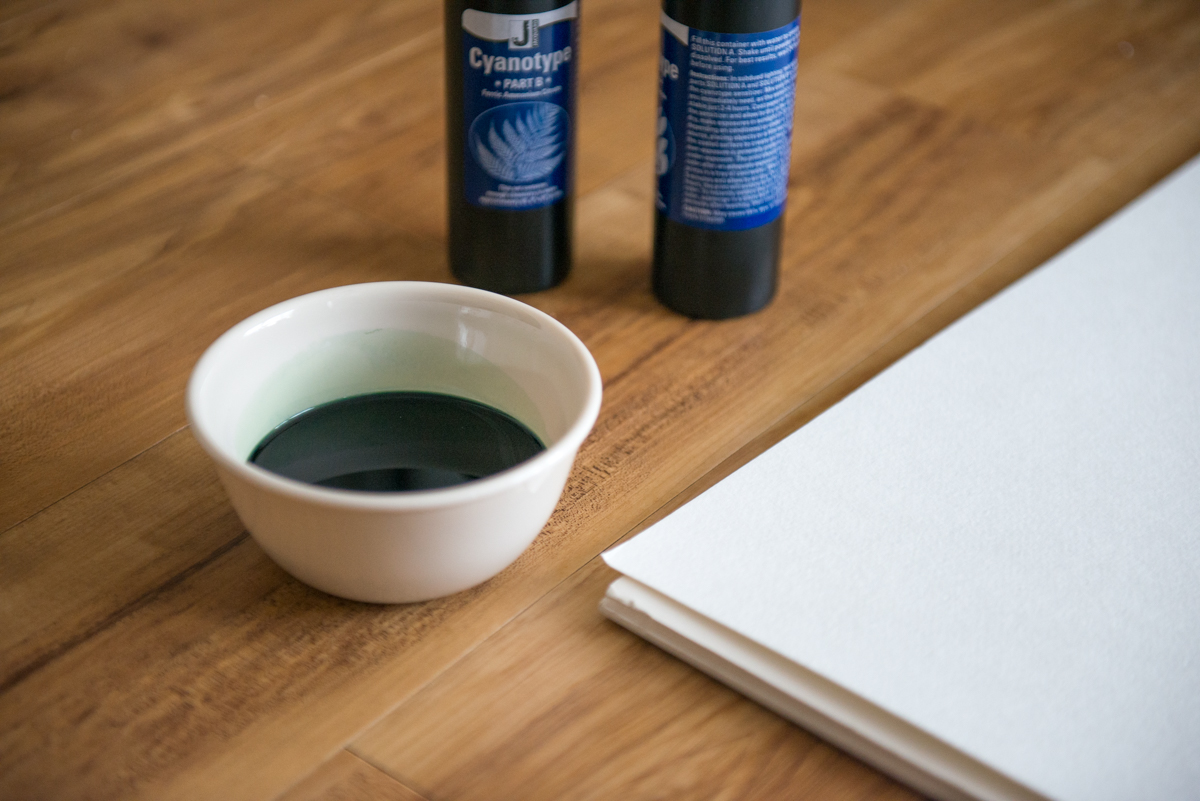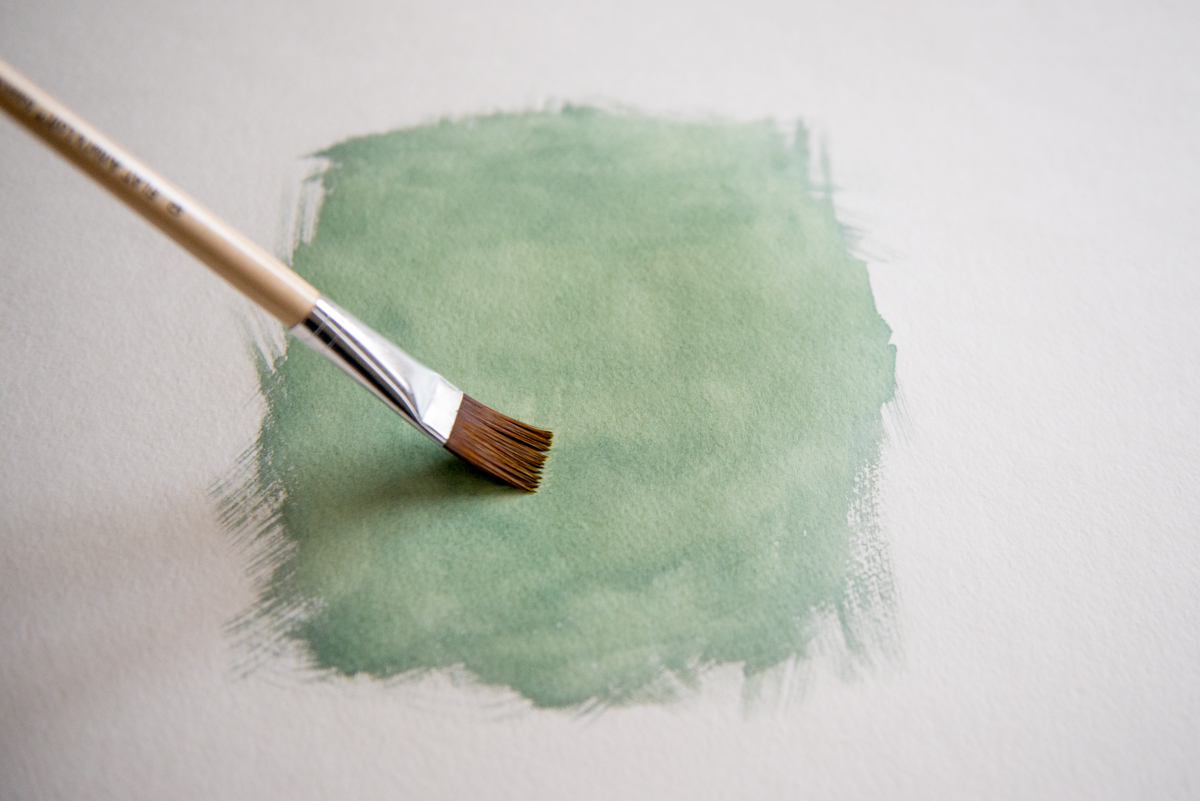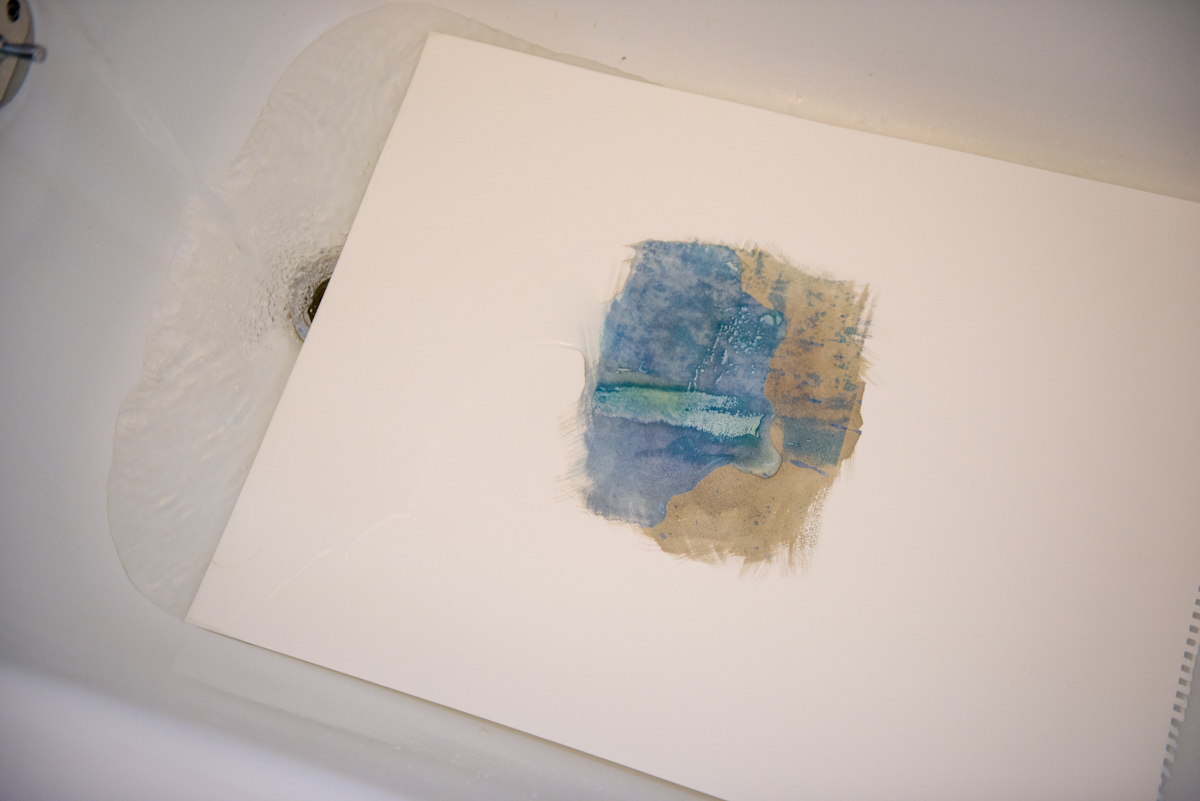
My AP art project in high school was a series of cyanotypes. It's been 10 years since I've bought the chemicals to try some more! Ferric ammonium citrate and potassium ferricyanide are mixed with water and then in equals parts together to create the substance used to paint onto the substrate (in this case, watercolor paper.)
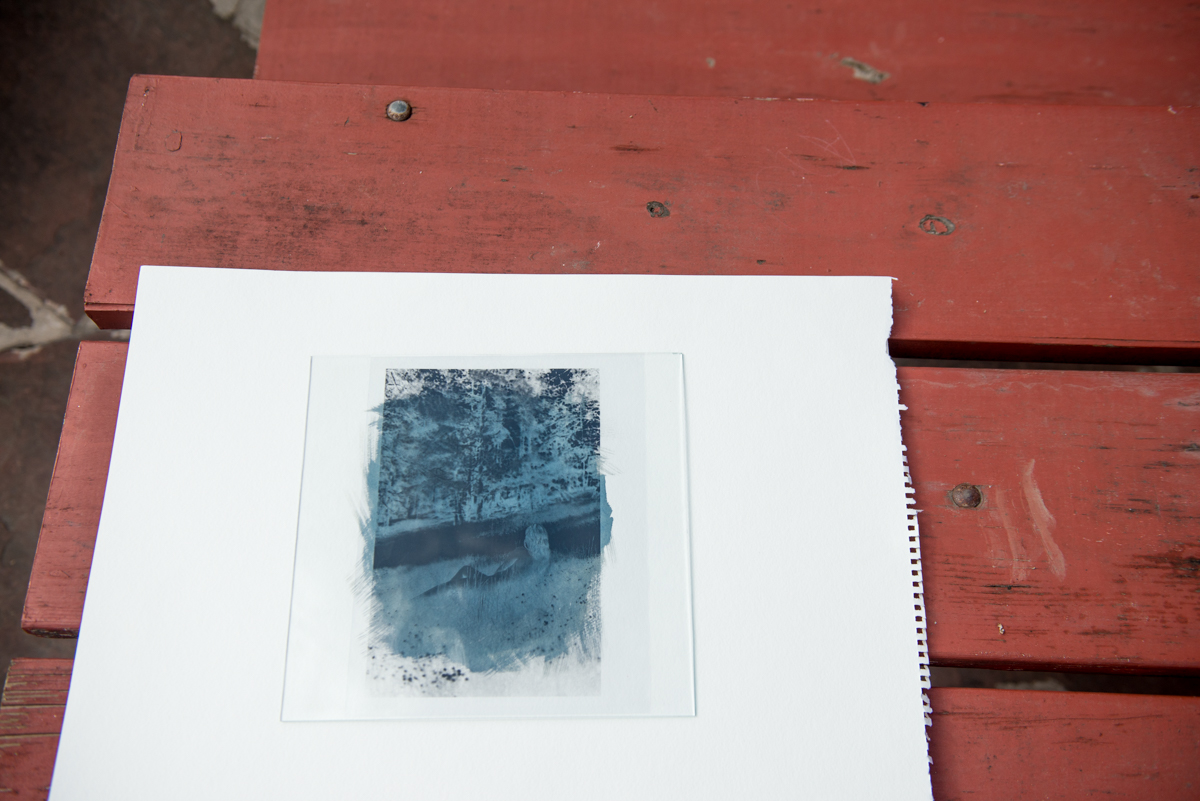
The paper is then dried, in as low light as possible, then a negative (printed on transparency paper) gets placed onto it weighed down with a glass sheet.
Everything is carefully transported outside where the print can be exposed by sunlight.
I say 'carefully' because I have a scar on my finger to remind me of what happens when you don't handle glass with care. In high school I was transferring a cyanotype outside when the glass suddenly rotated, its edge making contact with my finger as it dropped off the wood panel I had underneath and subsequently shattered. That wasn't as disappointing as my sliced finger that would not stop bleeding. I went to the ER and got three little stitches to help close that sucker up!
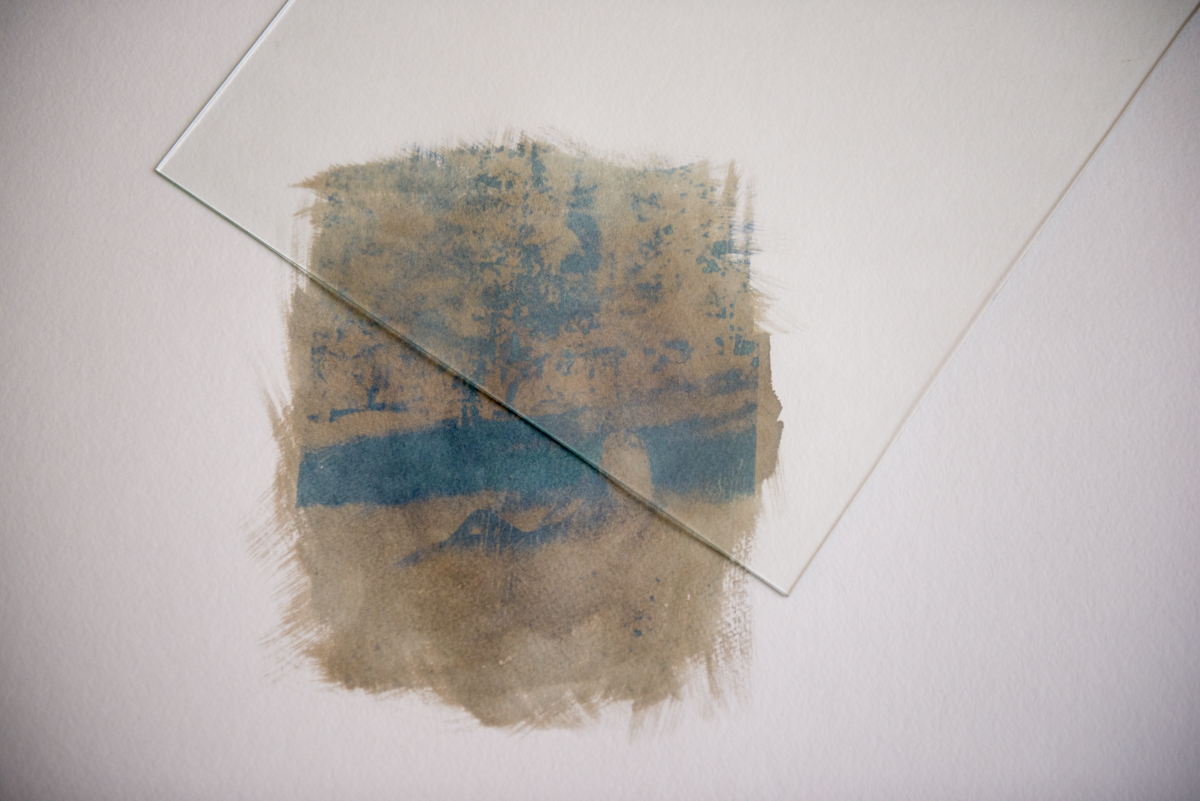
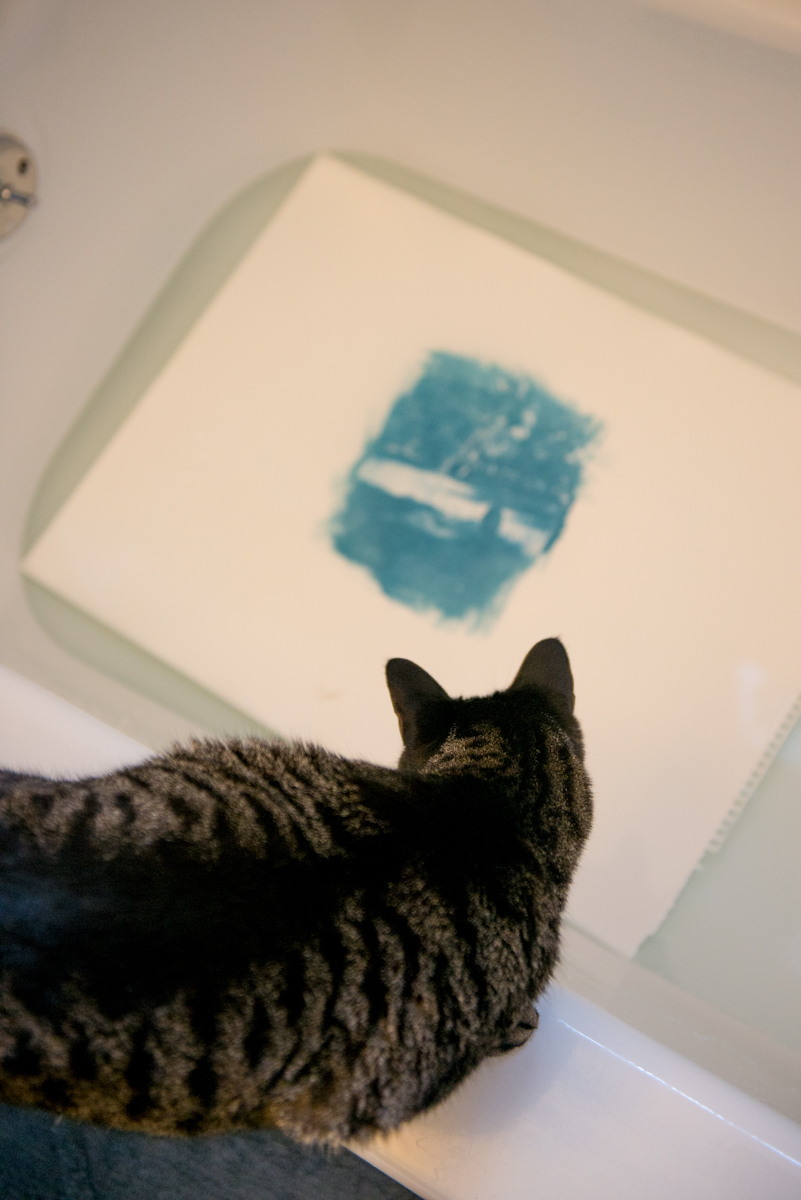
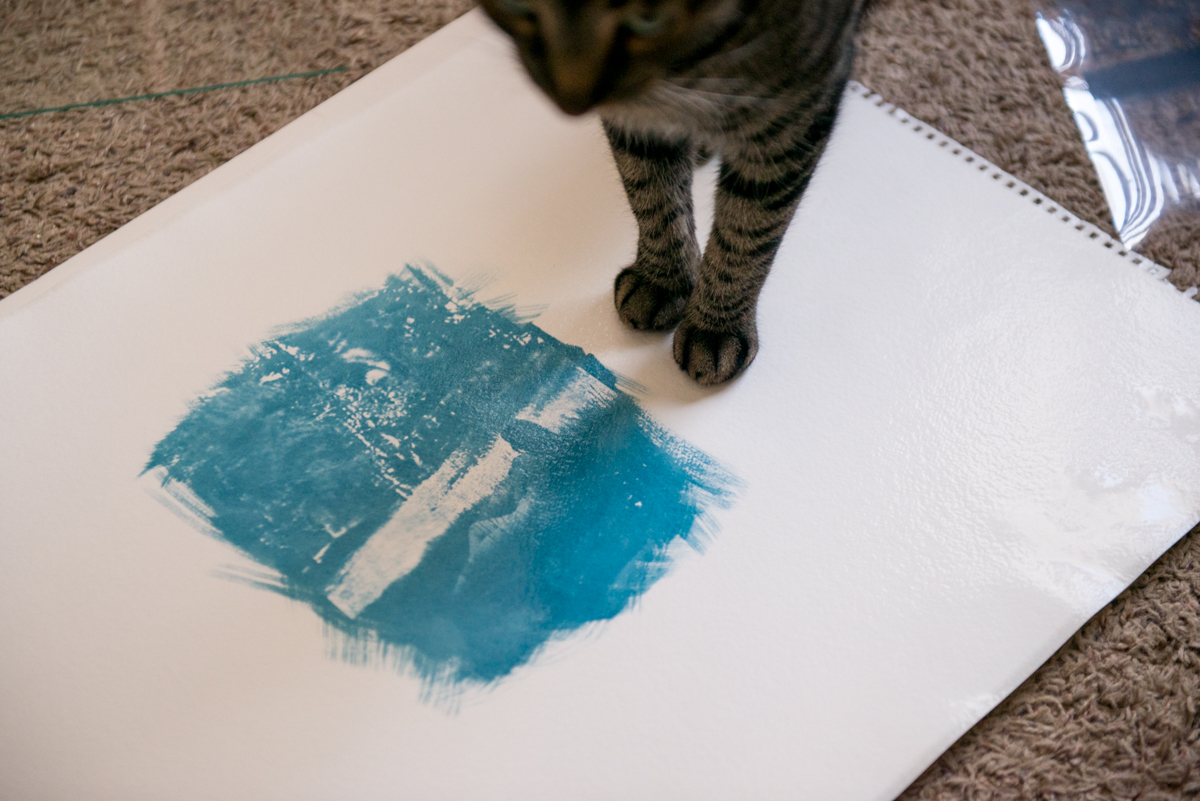
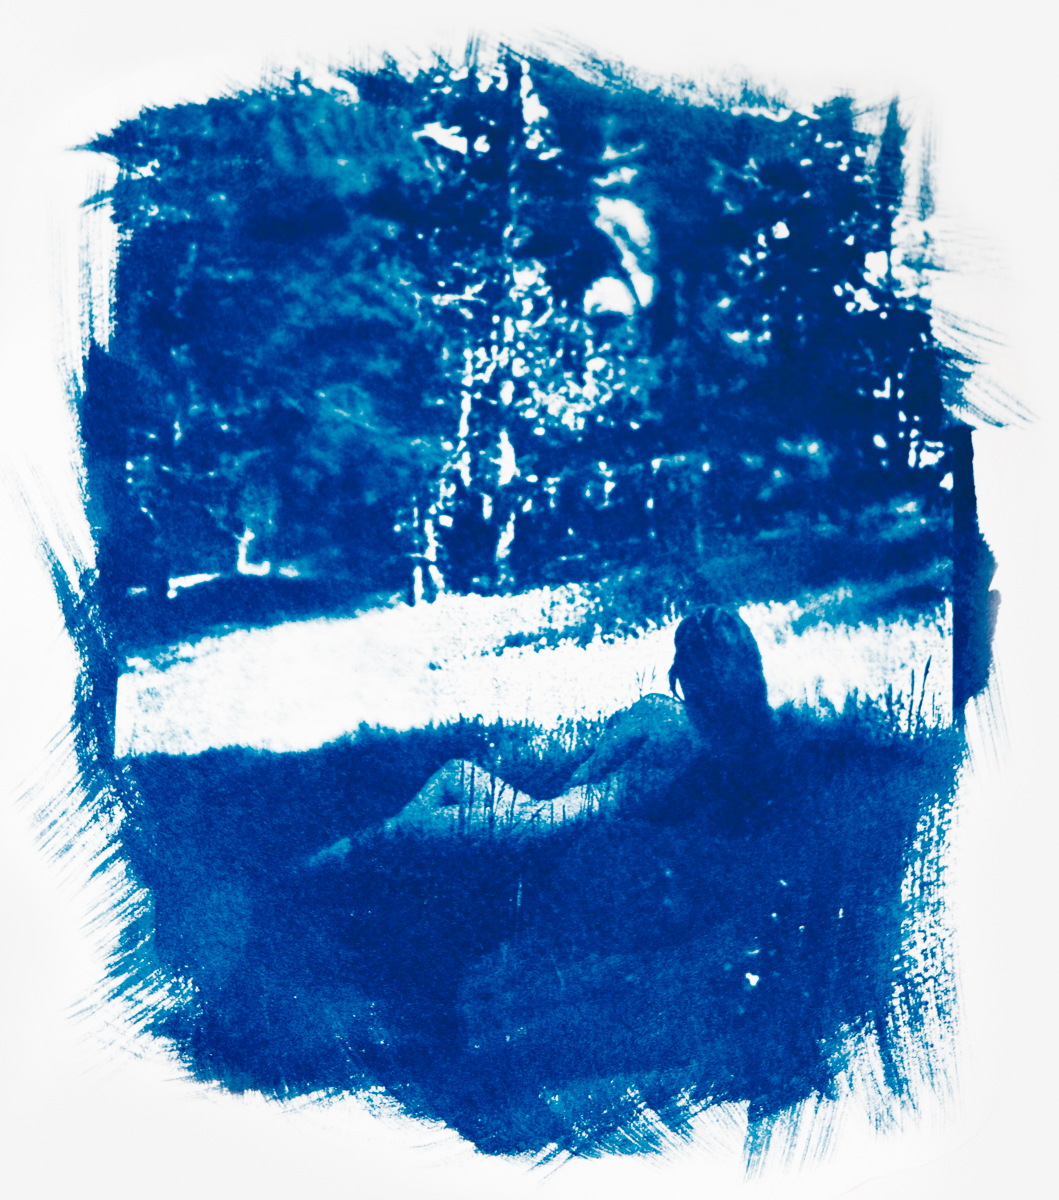
Depending on how bright the sun is that day, it can take up to a half an hour to fully expose. When the chemical mixture begins looking brown, that's when its ready. The paper is then washed in water, then dried. What appears as a lighter blue takes on a rich, dark blue tone after 24 hours.
You get what you pay for: I purchased the cheapest transparency film on Amazon, which printed horribly and turned irreparably wavy from the heat of the printer. Those bubbles and waves were impossible to flatten out with the glass, so the print was not particularly quality once finished.
But, that's okay! I learned my lesson.